

Professional tile installation in San Jose typically costs $15 to $50 per square foot installed for bathroom tile, depending on the material, the pattern, and how much prep the floor or shower needs. Construction Remodeling in Bay Area is a licensed bathroom remodeling and tile contractor based in Hayward. Our own crew installs bathroom floor tile, shower tile, and wall tile for homes across San Jose and the South Bay, from demo and waterproofing to the final grout seal.
By Ray Evgeny Khaikin, Owner & General Contractor · Last updated 24 September 2026
Tile is the first thing people notice in a bathroom, and it’s the finish that shows a rushed job the fastest. Uneven edges, cracked corners, and grout that stains in the first year usually come from poor prep, not bad tile. This guide covers what tile installation costs in San Jose, porcelain vs ceramic, how the install actually works, and the bathroom tile ideas we’re seeing most in 2026.
Tile installation cost in San Jose runs higher than national guides suggest. Bay Area labor typically sits 15 to 25 percent above national averages. Here are the installed ranges we see for bathroom tile in 2026, including material, labor, and standard setting materials:
| Tile application | Installed cost per sq ft |
|---|---|
| Ceramic floor or wall tile | $12 to $35 |
| Porcelain bathroom floor tile | $15 to $50 |
| Shower tile walls | $18 to $45 |
| Shower floor (mosaic or textured) | $20 to $55 |
| Large-format porcelain (24×24 and up) | $25 to $65+ |
| Natural stone (marble, travertine) | $30 to $80+ |
For a full bathroom, meaning the floor, a shower surround, and a tub deck, total tile installation typically runs $4,500 to $12,000 with mid-range porcelain. A standard shower (walls and floor) runs about $2,700 to $5,500 including the waterproofing membrane. If tile is part of a larger bathroom remodel, most of our San Jose bathroom projects land between $25,000 and $75,000 all in.
Porcelain vs ceramic is the most common question we get during a tile estimate. Both are fired clay, but porcelain is fired hotter and absorbs less than 0.5 percent water under ANSI standards. The Tile Council of North America treats that low absorption as the reason porcelain suits wet floors.
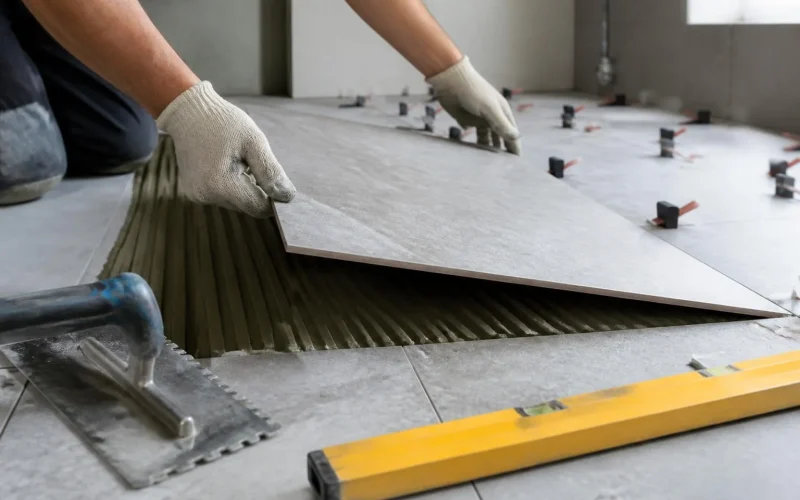
People often ask us how to install tile or how to lay tile themselves. The steps below are the same ones our crew follows on every San Jose job. Most failed tile jobs we fix skipped step two or three.
Grout is the dense filler that locks tiles together and seals the joints between them. It is not waterproof on its own. The membrane behind the tile is what keeps water out of your walls. Cement grout is the most common and needs sealing. Urethane and epoxy grouts cost more but resist stains and don’t need sealing, which is why we often recommend them for shower floors.
Most of that time is cure time for the membrane, mortar, and grout, so the schedule doesn’t compress much. Plan on 1 to 2 weeks for special-order tile to arrive from Bay Area suppliers.
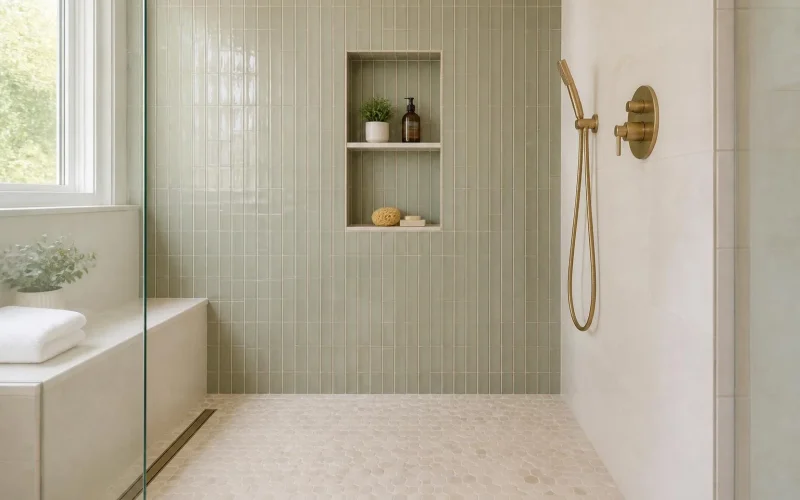
These are the bathroom tile ideas San Jose homeowners are asking for most this year:
For small bathrooms, use larger floor tile, keep the floor and wall tones in the same color family, and take at least one wall to the ceiling. All three make the room feel bigger.
A good tile contractor should explain exactly how they waterproof your shower, not just which tile they like. Before you hire anyone, ask:
Ray Khaikin owns and runs Construction Remodeling in Bay Area under CSLB License #1095283. We’re fully insured, our own crew handles tile installation from demo to grout, and our current Google rating is 5 stars. For other bathroom work, see our Union City bathroom remodeling guide or our flooring installation service.
Wait until the thin-set has cured, usually 24 hours. Mix the grout to a thick paste, press it into the joints diagonally with a rubber float, then wipe the surface with a damp sponge after 15 to 30 minutes. Buff off the haze once it dries, and seal cement grout after it cures.
Yes, with a bonding primer and an epoxy or tile-rated paint, but it works best on walls and backsplashes that stay dry. Painted tile on shower floors and inside the shower wears quickly. If the tile is in a wet area, replacing it usually lasts much longer.
Scrub with a paste of baking soda and water or a pH-neutral grout cleaner and a stiff nylon brush, then rinse. Avoid bleach and acids on cement grout, because they break down the grout and its sealer over time. Resealing cement grout every one to two years keeps stains out.
Start with a flat, solid substrate such as cement board or an uncoupling membrane. Dry-lay the pattern from the center of the room, spread thin-set with a notched trowel, and set each tile with spacers or leveling clips. Let it cure for 24 hours before grouting.
Use a manual snap cutter for straight cuts on ceramic and thinner porcelain. Use a wet saw for thick porcelain, stone, and large-format tile. For holes around pipes and valves, use a diamond hole saw, and finish curved cuts with an angle grinder.
Construction Remodeling in Bay Area
111 Jackson St, Hayward, CA 94544.
Phone: (510) 990-9243.
Hours: Monday to Thursday, 8 AM to 6 PM. Friday to Sunday, 9 AM to 4 PM.
Serving San Jose, Santa Clara, Sunnyvale, Milpitas, Fremont, Hayward, and the rest of the South and East Bay.
If you’d like a written quote for tile installation in San Jose, we’re happy to walk through it with you.